


Okta OIDC Integration
Learn how to configure a connection to Okta via OIDC.
Introduction
Each SSO Identity Provider requires specific information to create and configure a new Connection (through Application registered). Often, the information required to create a connection will differ by Identity Provider.
Okta integration with Cripsa using OIDC consists of 4 parts,
- 1. Create a project/select (an existing) project by logging into https://cripsa.com
- 2. Create an App in Okta using admin account in https://developer.okta.com/login/
- 3. Use Client Credential (ClientId and ClientSecret) and OIDC Issuer information of the Okta App, to integrate it with Cripsa.
- 4. Use the Final URI received to call against the User click to start the Authentication process.
Create Project through Cripsa
Login to Cripsa Dashboard by using email account

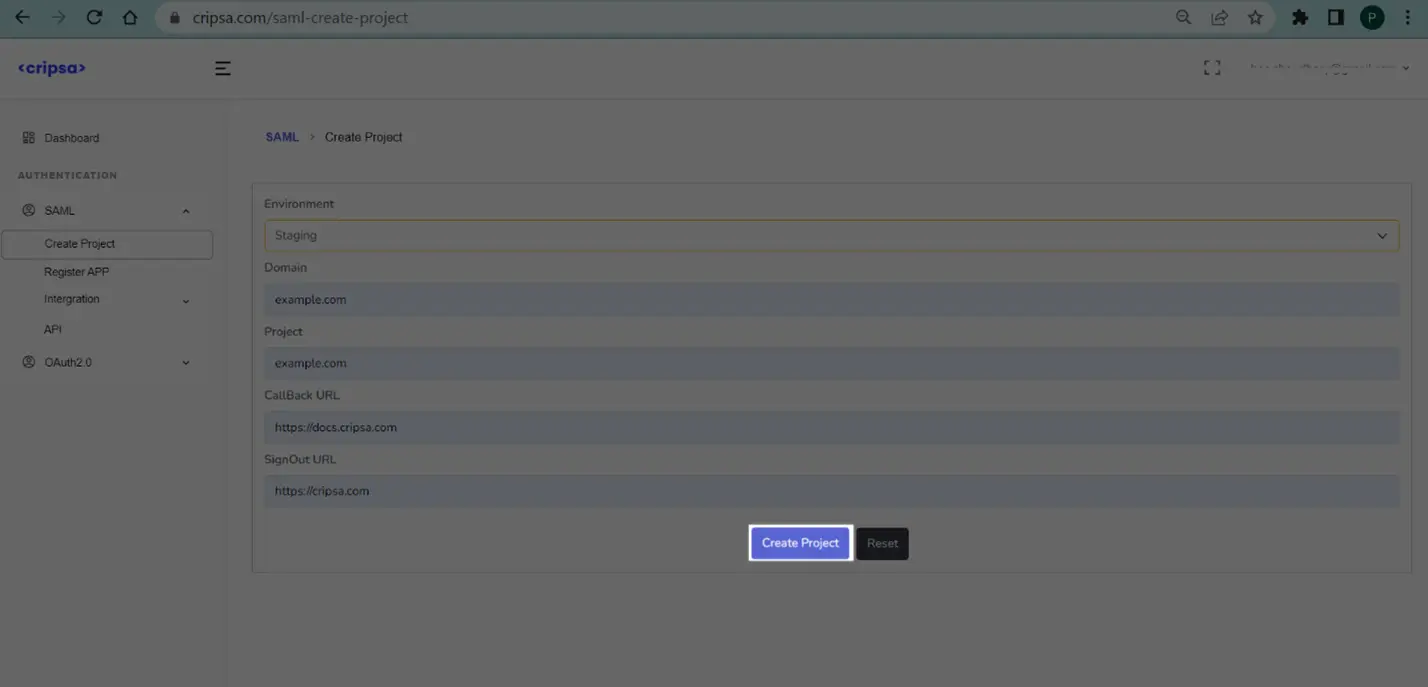
Once logged in Create project for OIDC.
Fill all the details. All the fields are required.
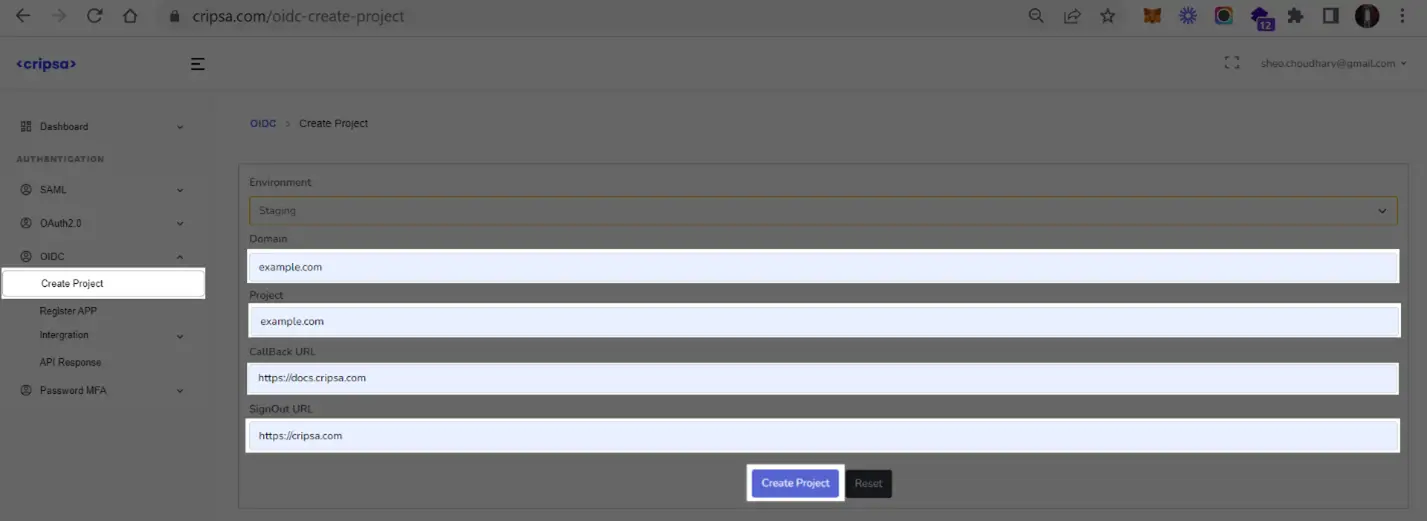
Click on “Create Project”.
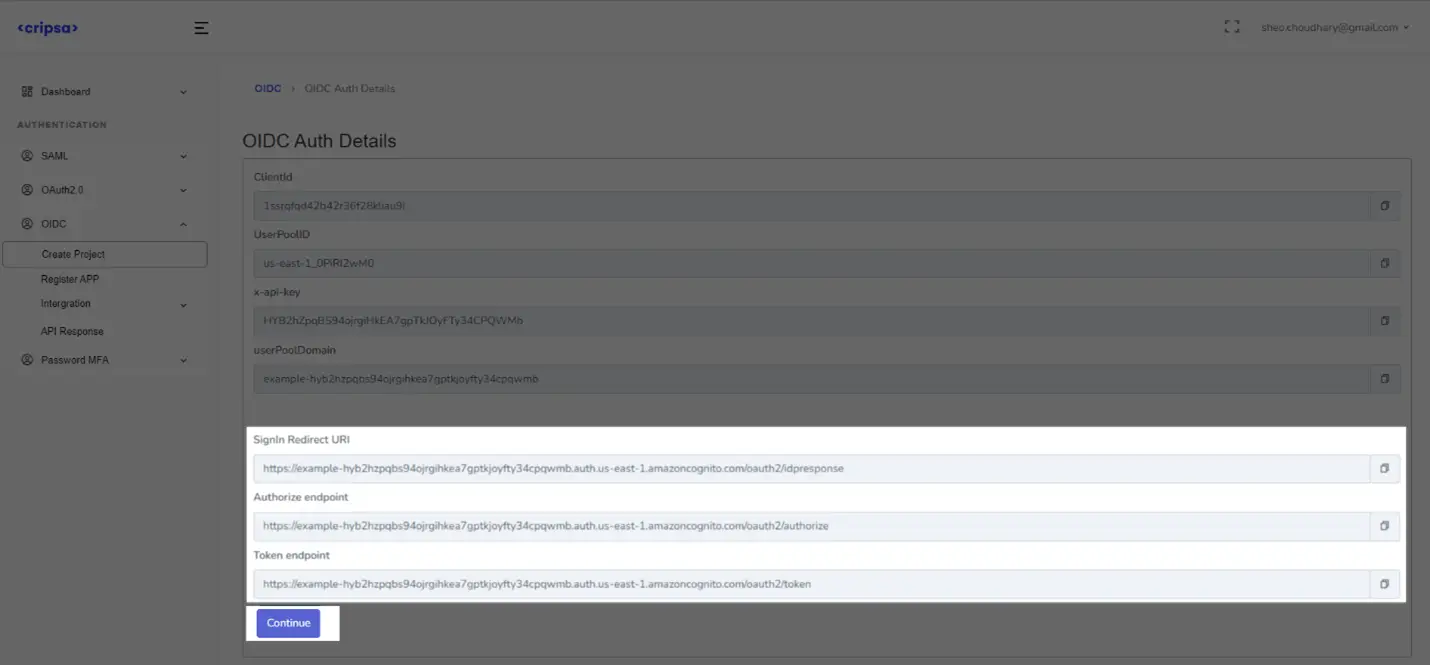
Note Down “SignIn Redirect URI” information which will be used while creation of the App in Okta Admin Console (https://
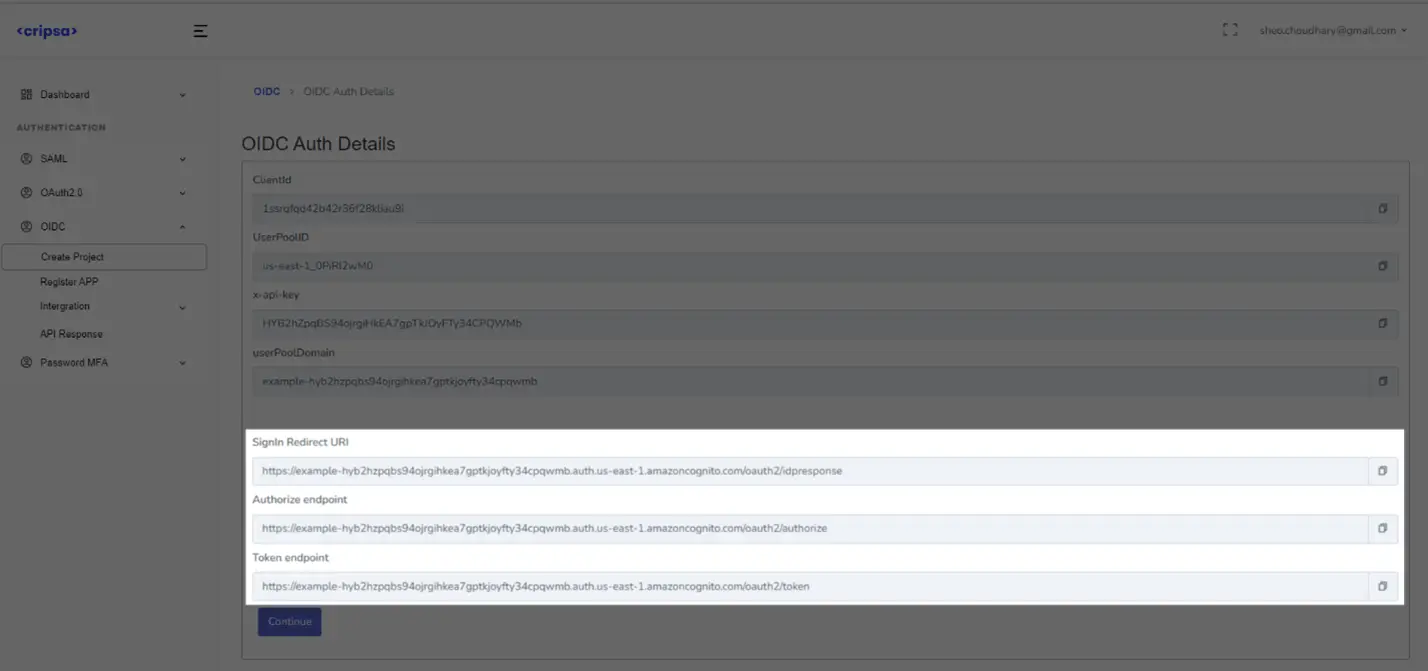
What Cripsa provides
Cripsa provides the SignIn Redirect URL. It’s readily available in your Project Detail page of Cripsa Dashboard.
The SignIn Redirect URL is the location an Identity Provider redirects its authentication response to. In Okta’s case, it needs to be set by the Enterprise when configuring your application in their Okta dashboard.
Specifically, the SignIn Redirect URL will need to be set as the “Sign-in Redirect URIs” in the “Service Provider Details” step of the Okta OIDC setup.
What you’ll need
In order to integrate you’ll need Client Credential (ClientId and ClientSecret) and OIDC Issuer information of the Okta App.
In order to integrate you’ll need Client Credential (ClientId and ClientSecret) and OIDC Issuer information of the Okta App.
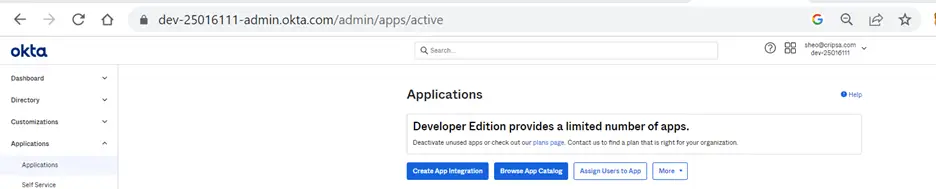
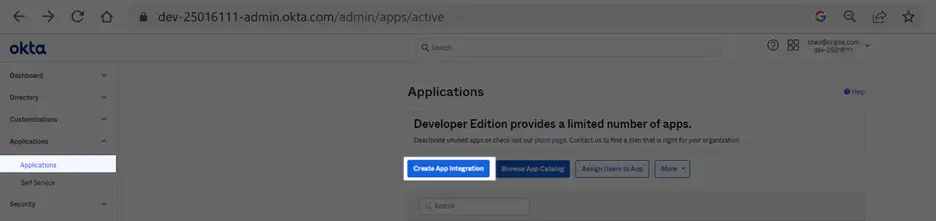
1. Log in
Login to Developer Account in OKTA->Application->Create App Intigration.

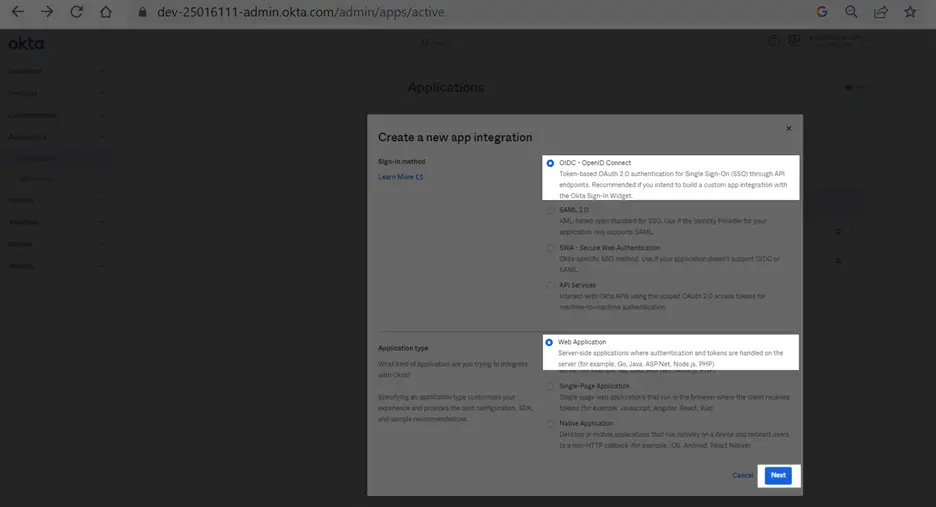
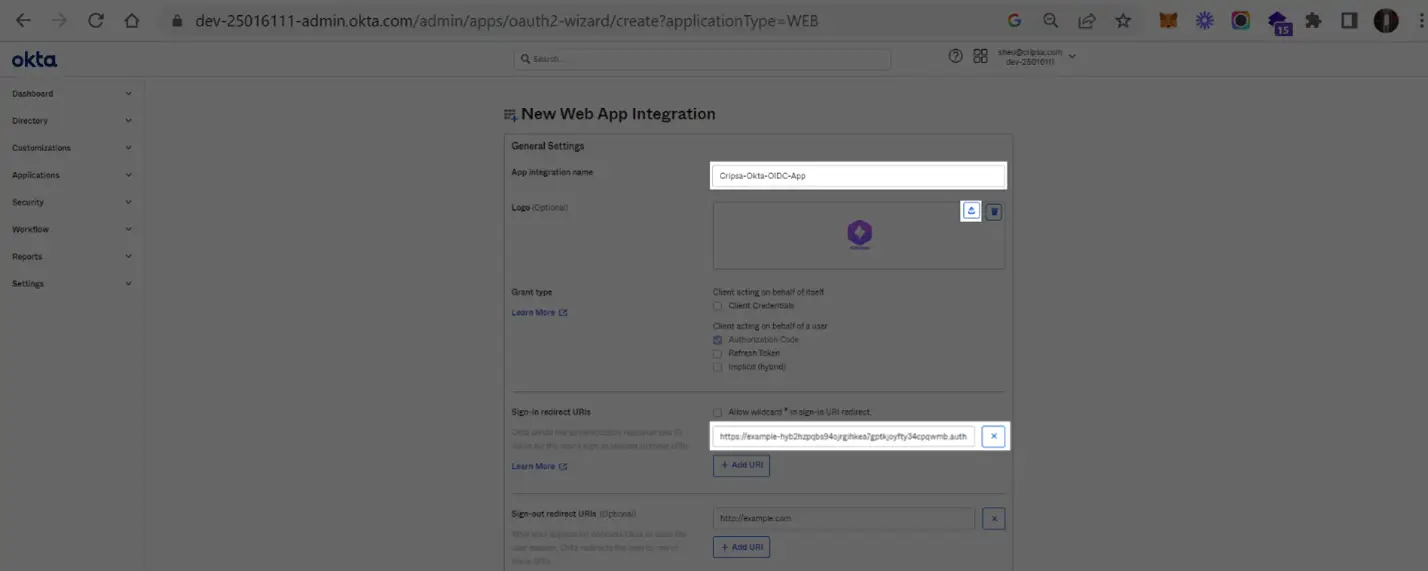
Client can add their own logo as well with their App as shown above in the diagram.
Also, there is a need to provide two more information in the above screen:
- 1. Sign-In redirect URIs: This information one can get while creation of project through Cripsa.com.
- 2. Sign-out redirect URIs (Optional): This is the URI of the Sign-Out page of the Client.

Note Down Client ID and Client Secret.
The Above information is being used while registering the App with Cripsa through Register App API in Cripsa.com.
2. Obtain ClientID and ClientSecret
Select the app go to General tab and in the Client Credentials section one can note down the ClientId and ClientSecret.

3. Configure Federation Mode
Select App, in the General Setting at the Bottom in Federation Broker Mode select Edit
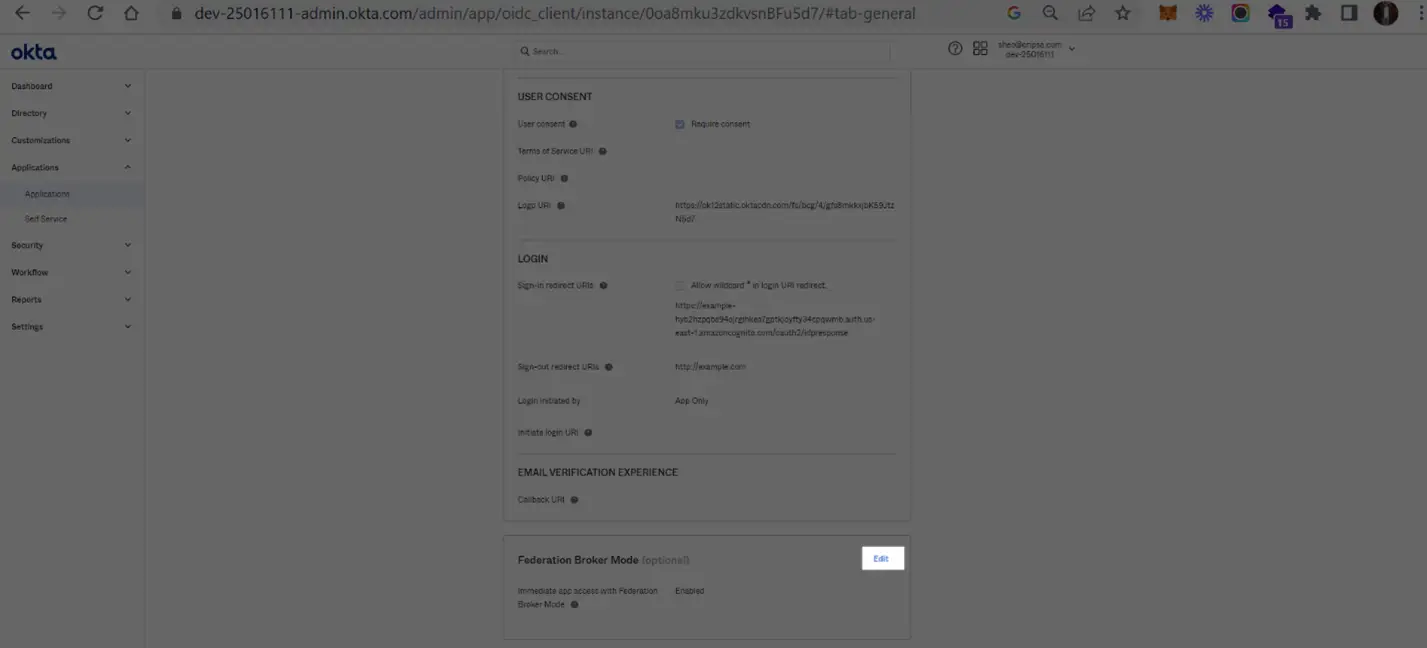
Click on “Disable Federation Broker Mode” and click on Save.
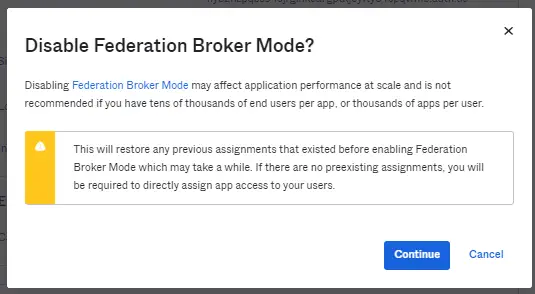

Confirm that Federation Broker Mode is Disabled.
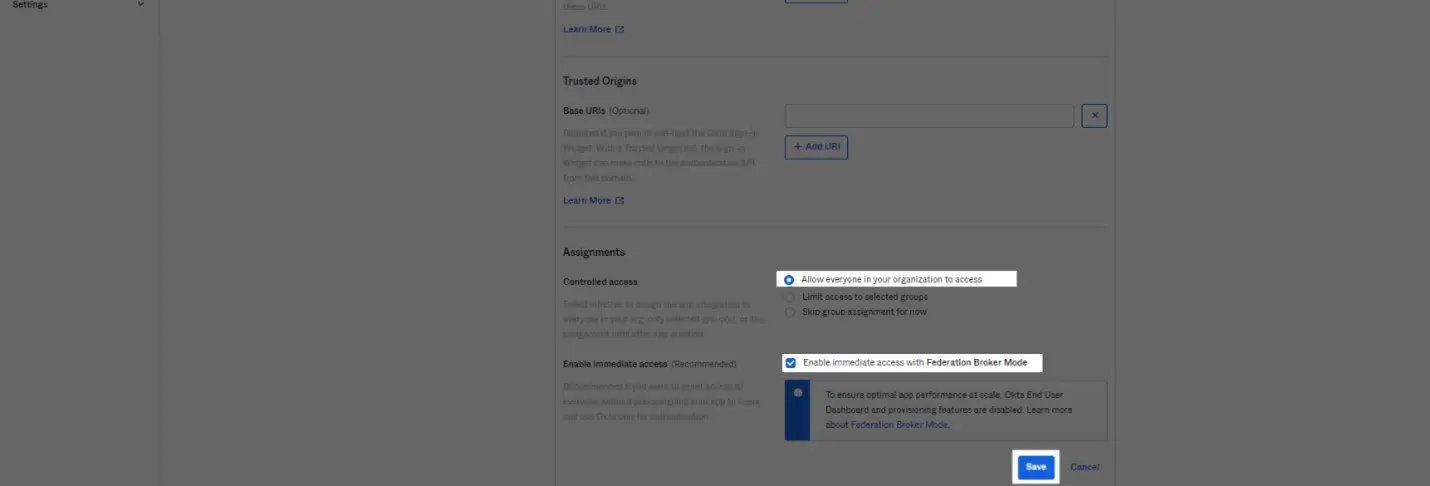
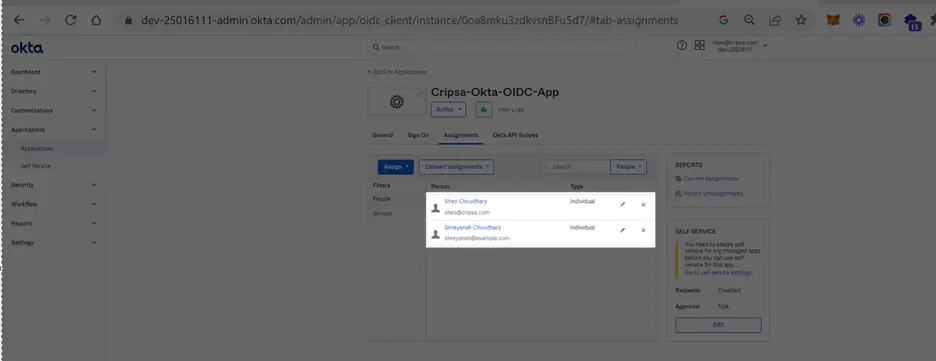
4. Configure User Access
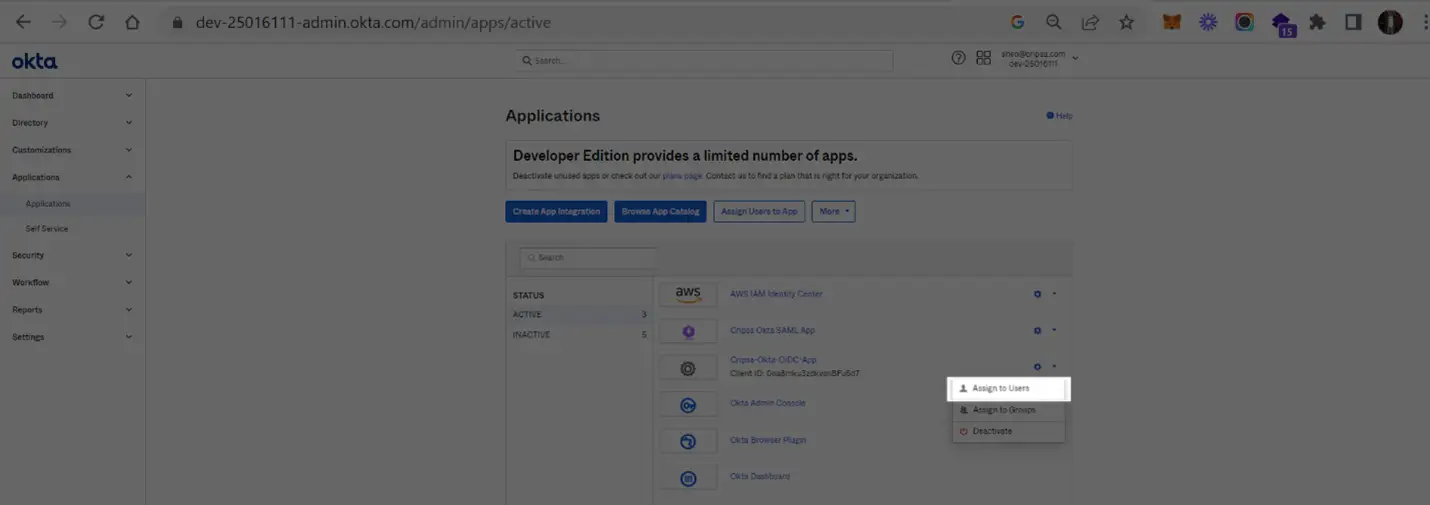
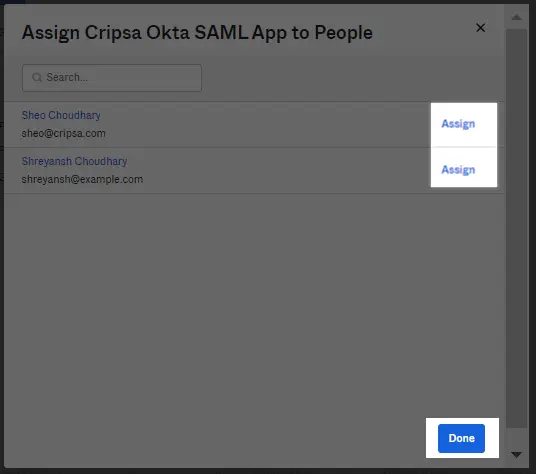
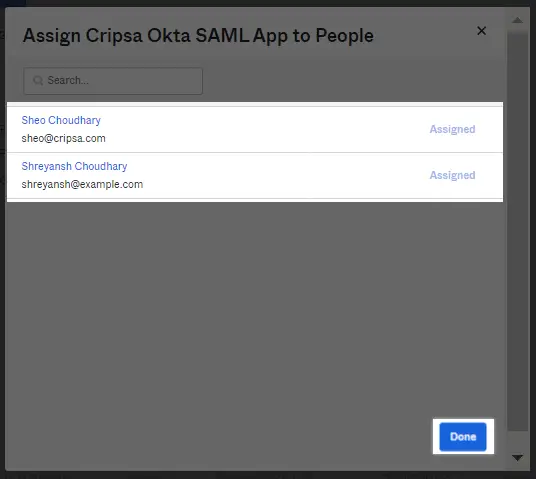
In the Applications->Applicatios->Click on Configuration Icon and select Assign to Users as shown below.
6. Register App with Cripsa
If you haven’t already copied the Client Credential then select the App and in the General Tab go to Client Credential section and Note Down the CLientId and ClientSecret.

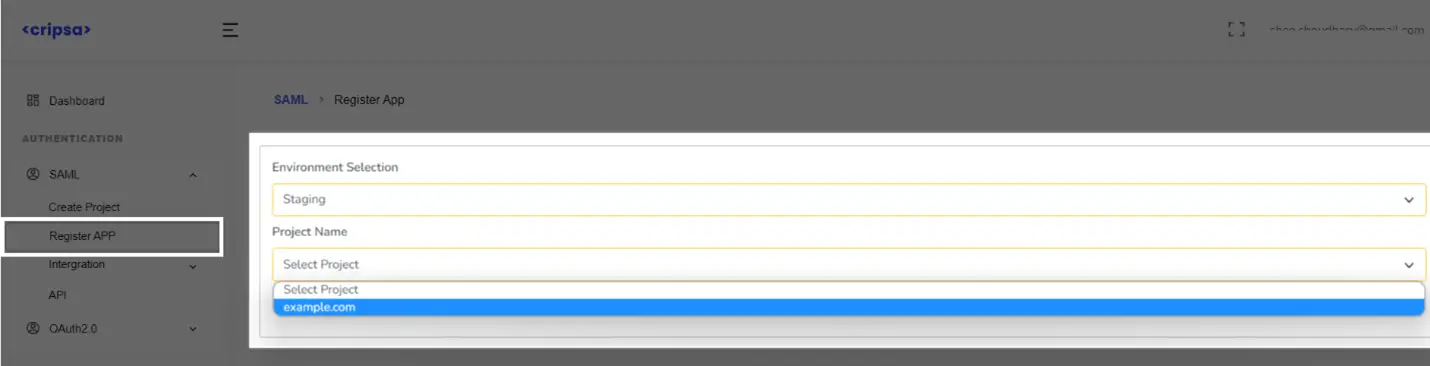
Now go back to https://cripsa.com/OIDC-register-app ->Select your project you have just created.
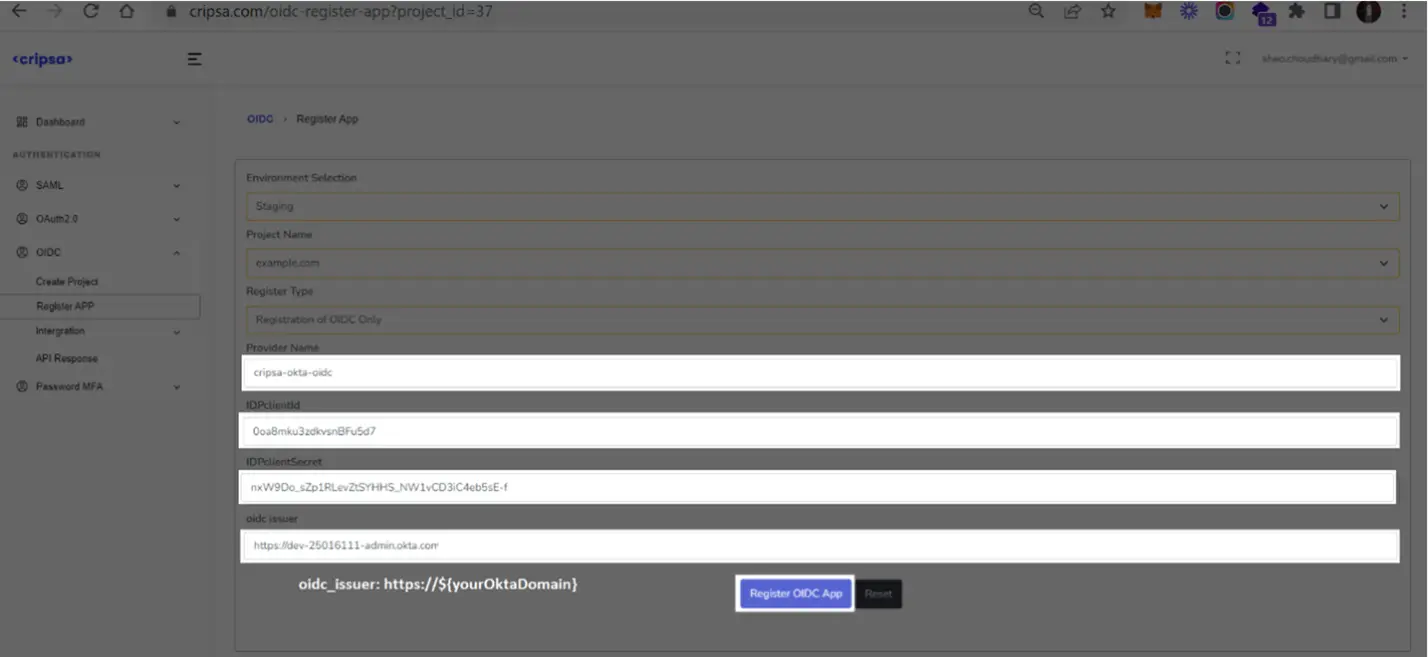
Here Three Fields are Mandatory to fill:
- Register Type
- Provider Name (name must be unique with no special character and all in small letter)
- Client Credentials (ClientId and ClientSecret)
- OIDC Issuer
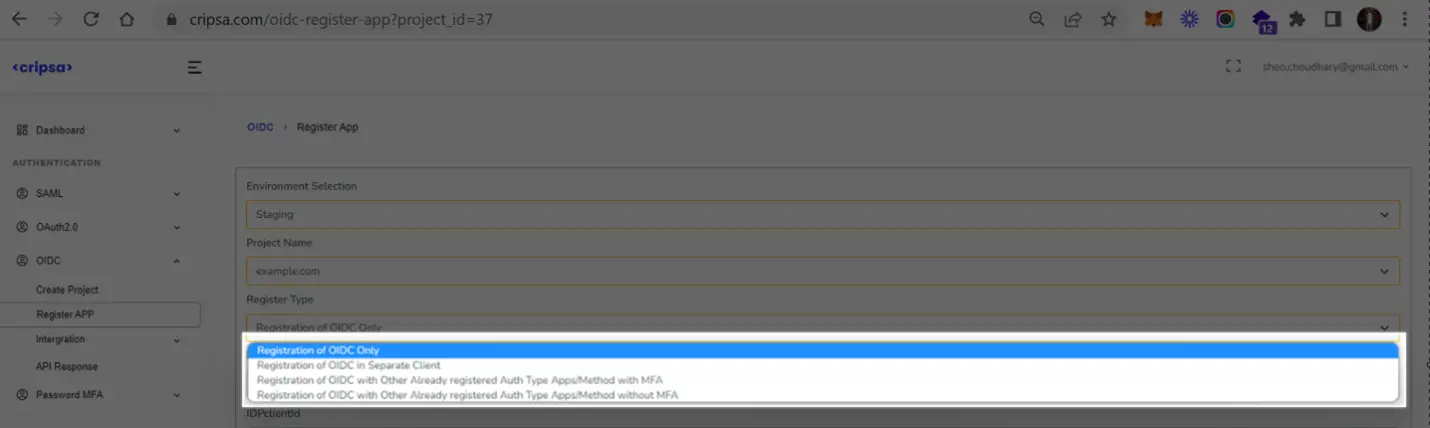
In the Register Type there are four options, and one has to select anyone of them as per your requirement. For more information on these options please see FAQ.
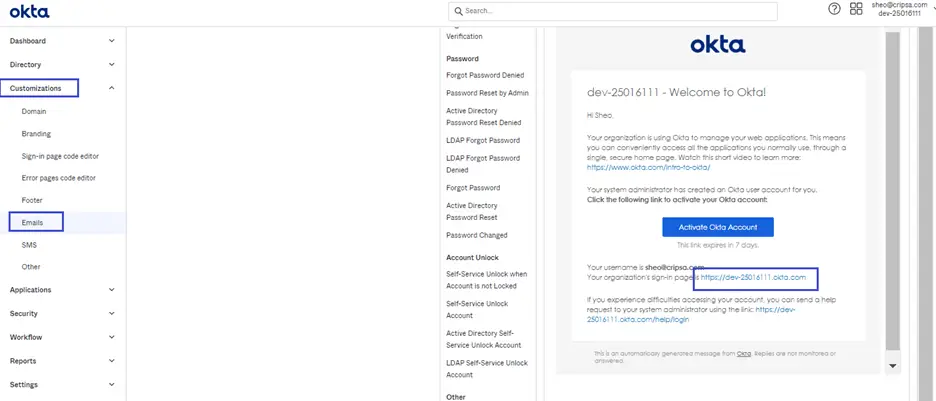
One can see OIDEC Issuer information by going to Customizations->Emails and see the Organization’s sign-in pages as shown above.
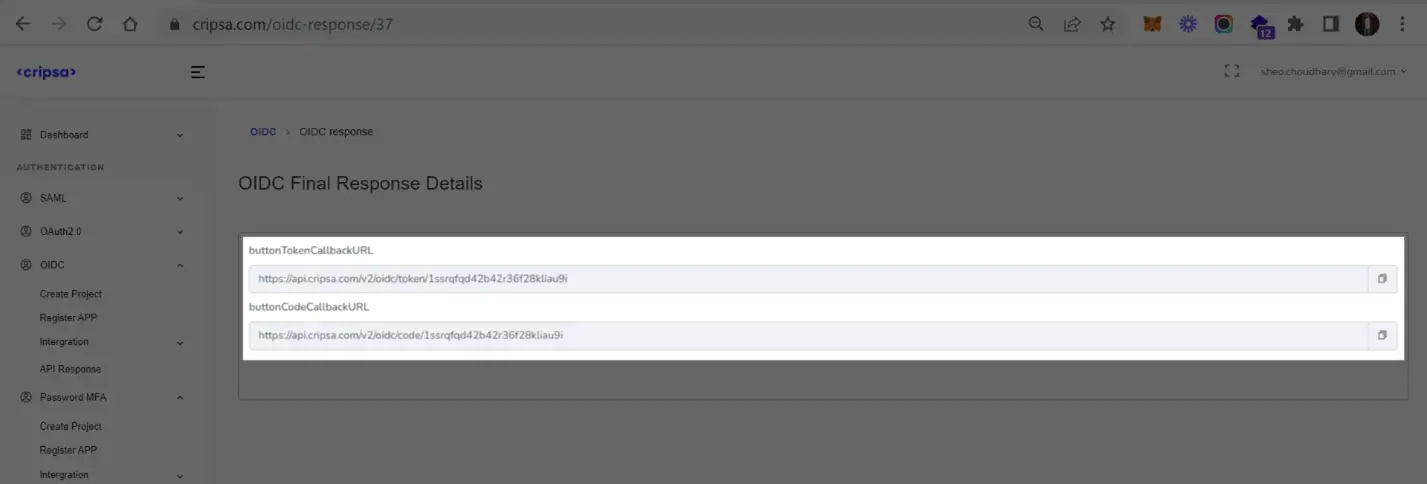
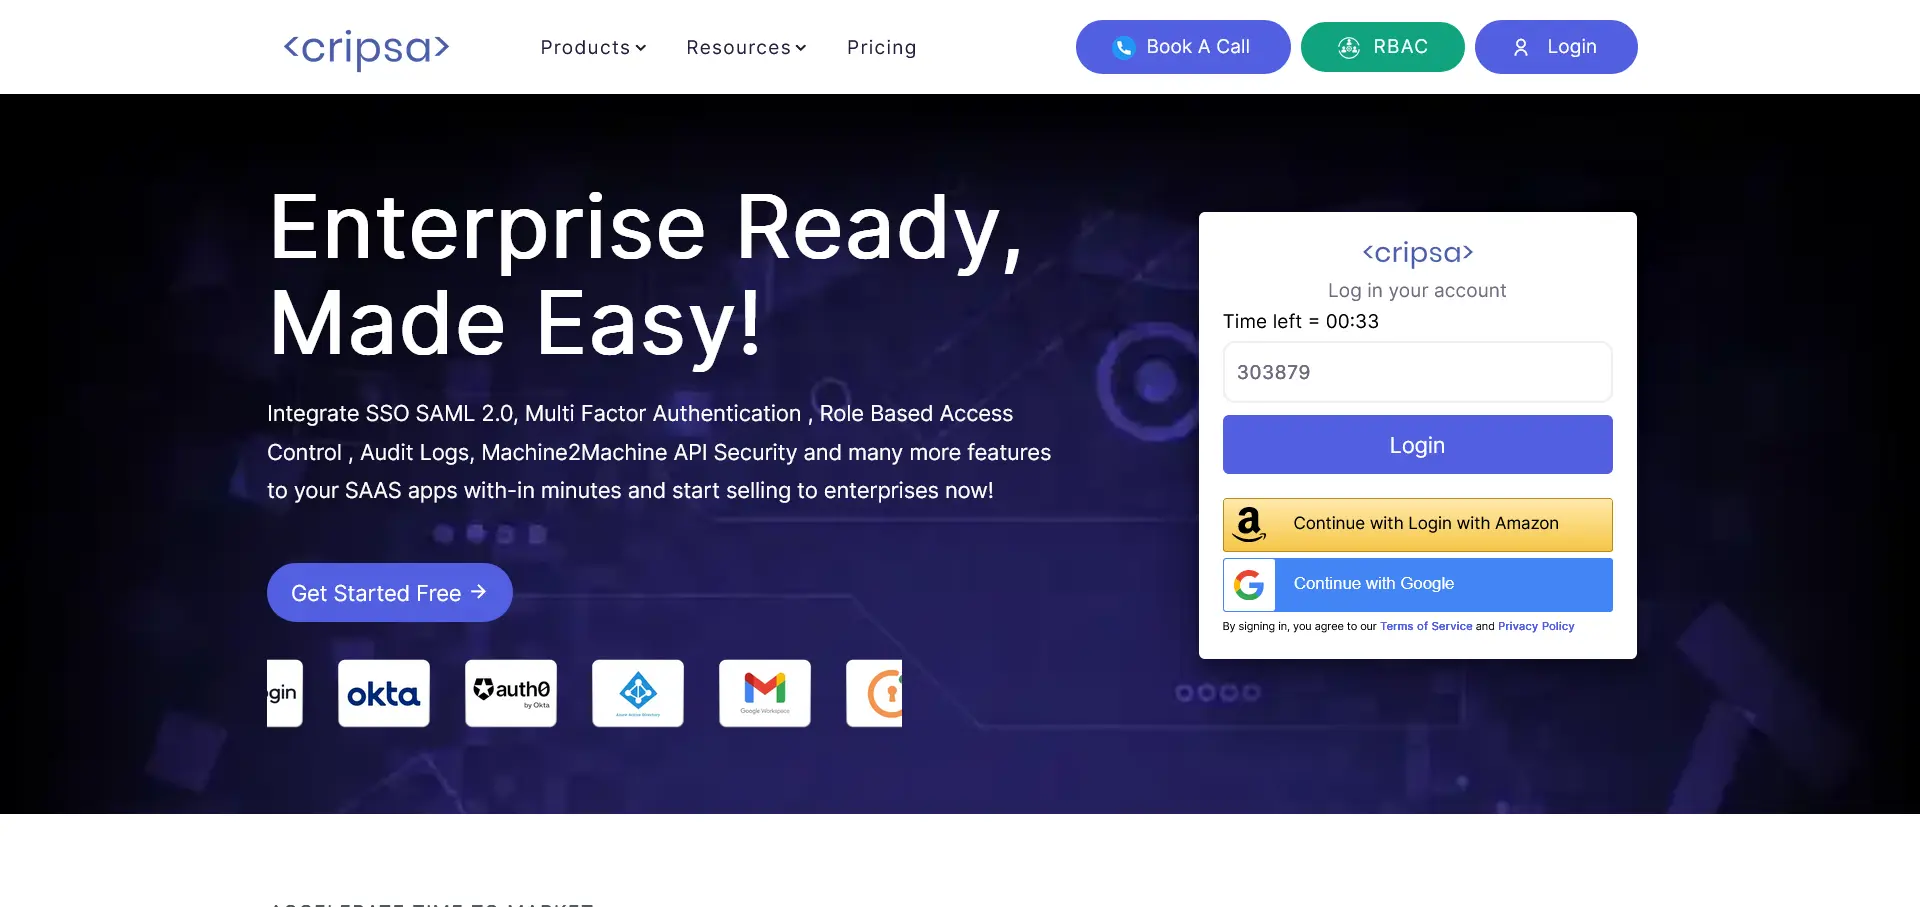
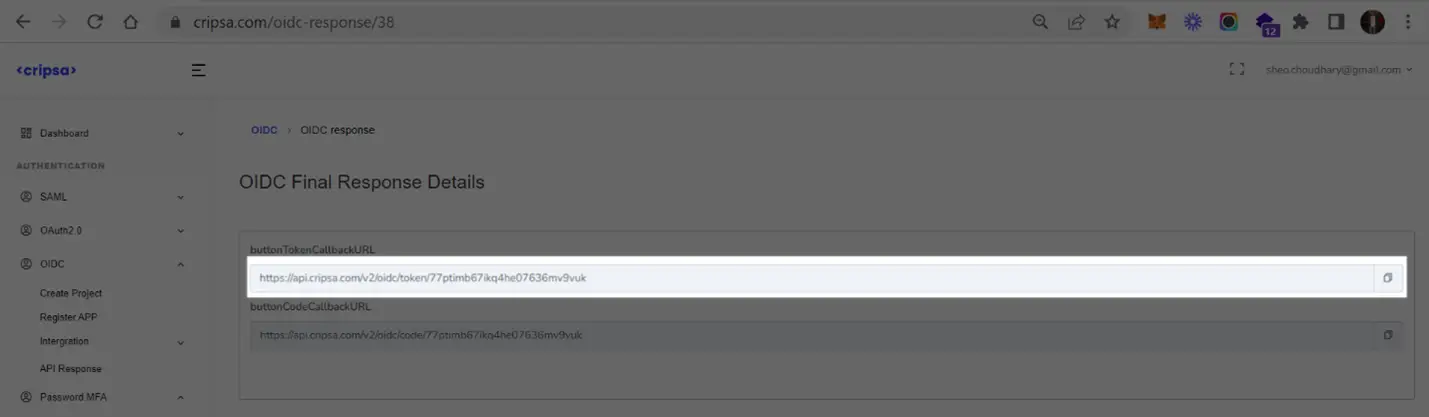
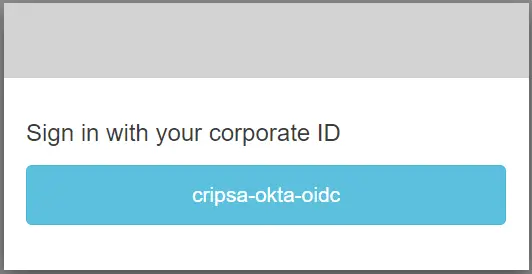
After click on Register OIDC App one can see the above Two links which can be used as Login Button redirection URI.
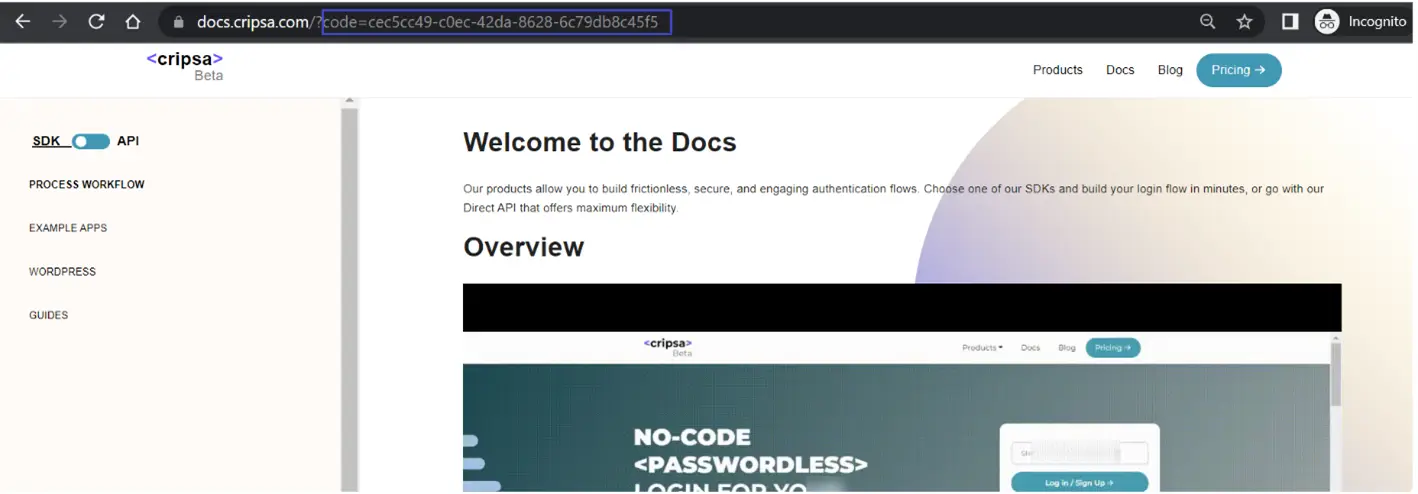
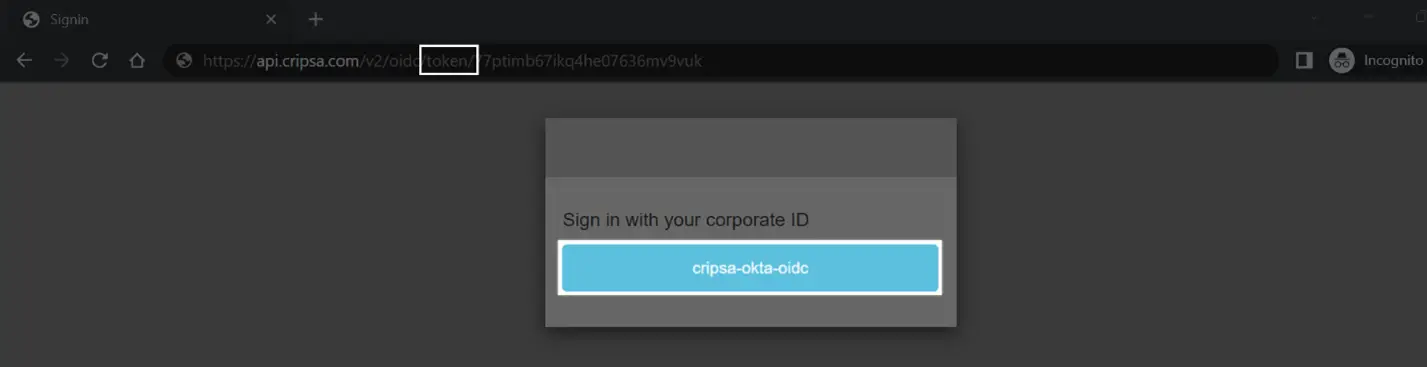
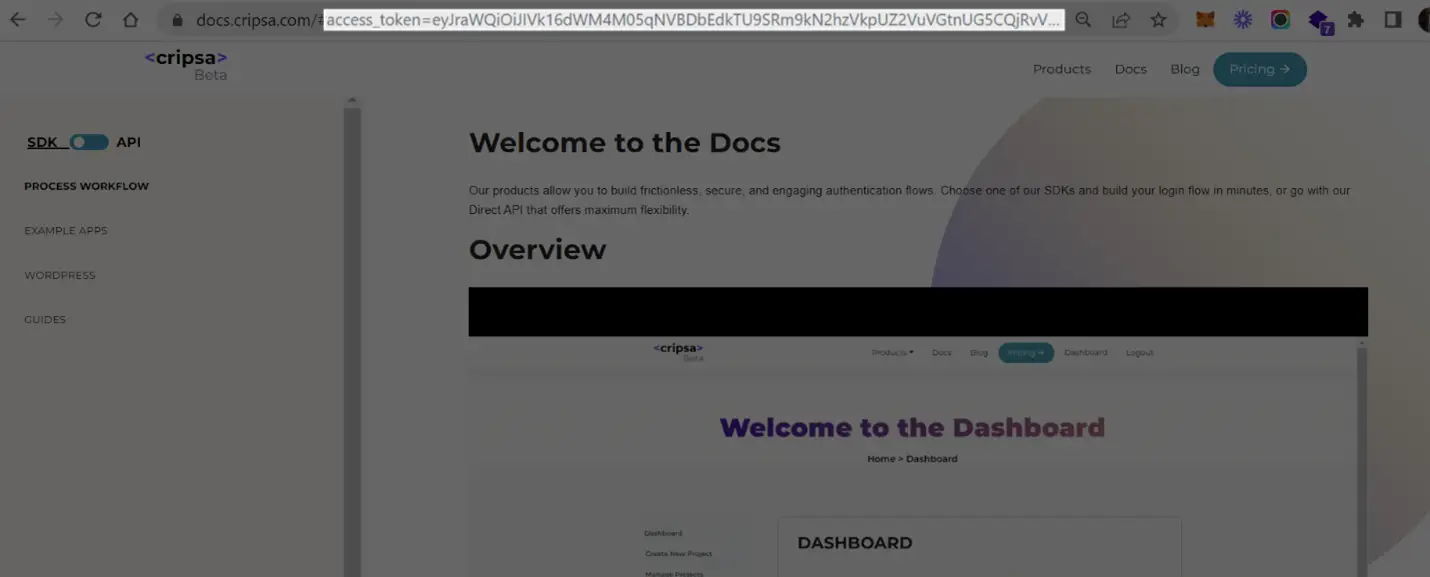
7. User Login Testing
Using code URI to get code after successful login to Okta.
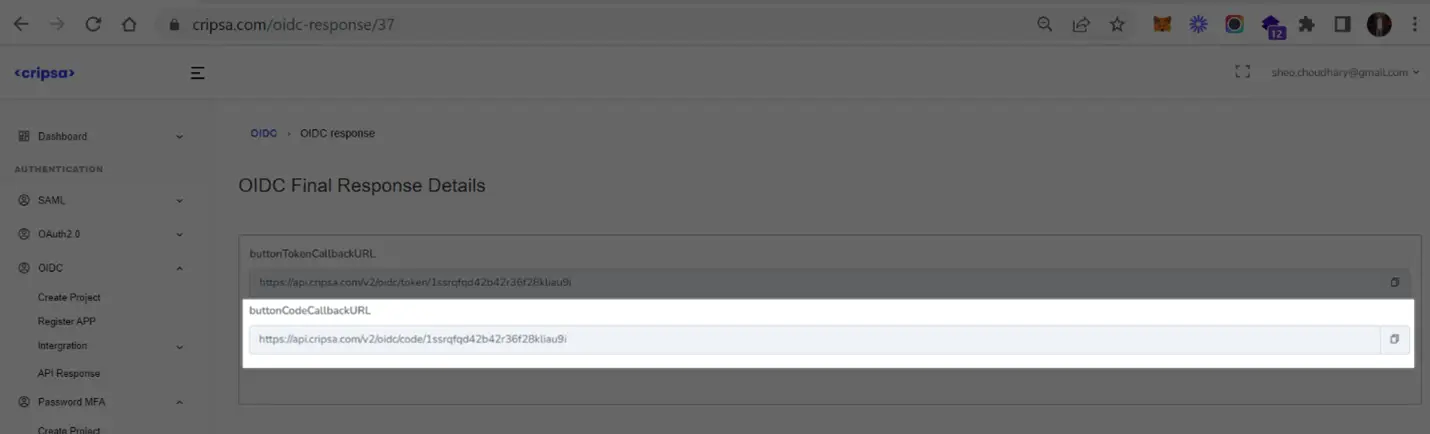

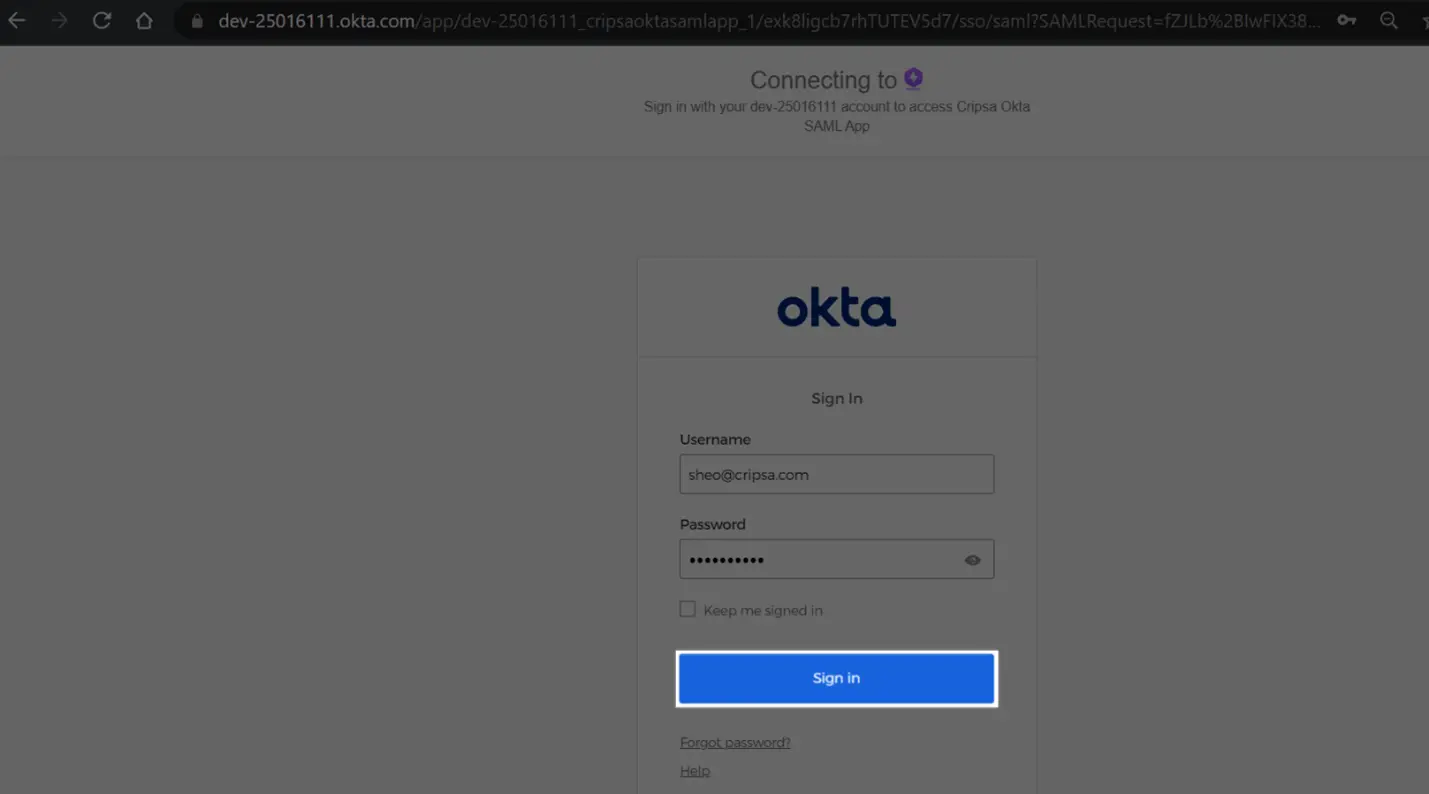
Using token URI to get accessToken after successful login to Okta.
Frequently asked questions
1. How many Registration Options available in Cripsa for OIDC and what is the difference between them?
In the Register Type there are four options:
- Registration of OIDC Only
- Registration of OIDC in Separate Client
- Registration of OIDC with Other Already registered Auth Type Apps/Method+MFA
- Registration of OIDC with Other Already registered Auth Type Apps/Method without MFA
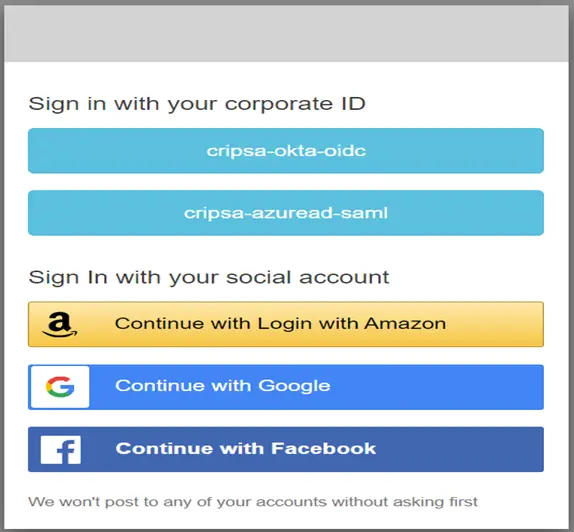
Only the Login screen would be Different for each Registration Type.

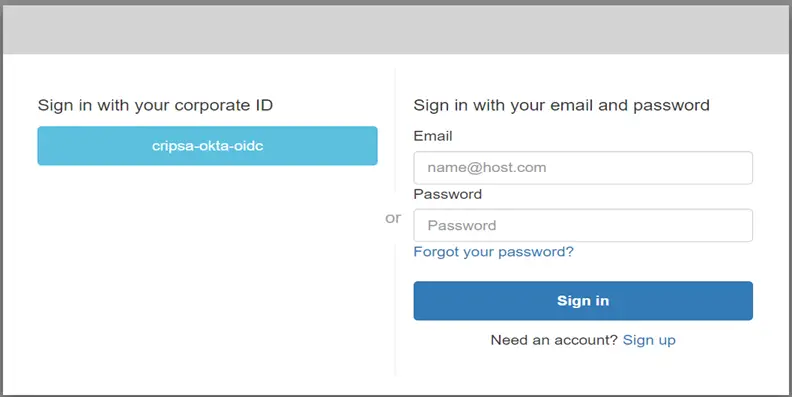
Here in the above diagram one can see MFA is available along with OIDC authentication.
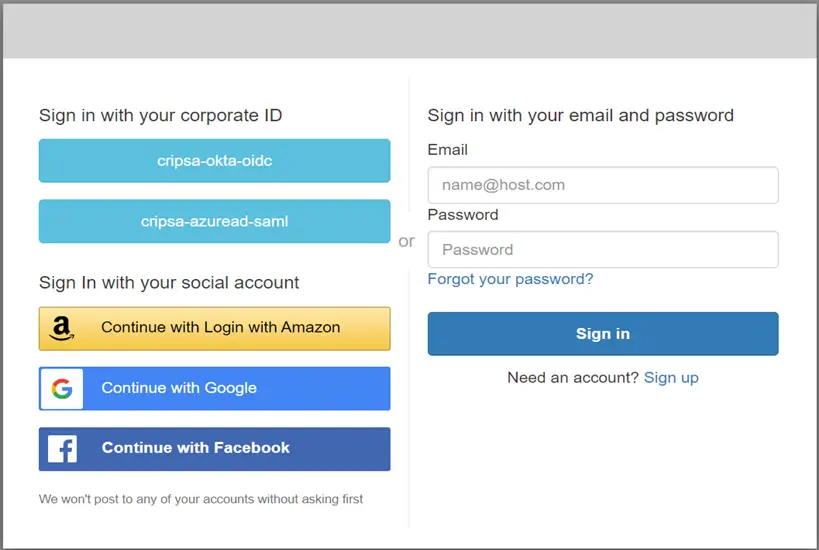
Here in the above diagram one can see MFA is available along with OIDC and AUTH 2.0 authentication.