


SCIM(Cross-domain Identity Mgt.)
Okta SAML Integration with SICM
Learn how to configure a connection to OneLogin via SAML.
Introduction
Each SSO Identity Provider requires specific information to create and configure a new Connection (through Application registered). Often, the information required to create a connection will differ by Identity Provider.
OneLogin integration with Cripsa using SAML consists of 4 parts,
- Create a project/select (an existing) project by logging into https://cripsa.com
- Create an App in Okta using admin account in https://<your-domain>.okta.com
- Use Issuer/Metadata URL information of the OneLogin App registered to integrate it with Cripsa.
- Use the Final URI received to call against the User click to start the Authentication process.
Create Project through Cripsa
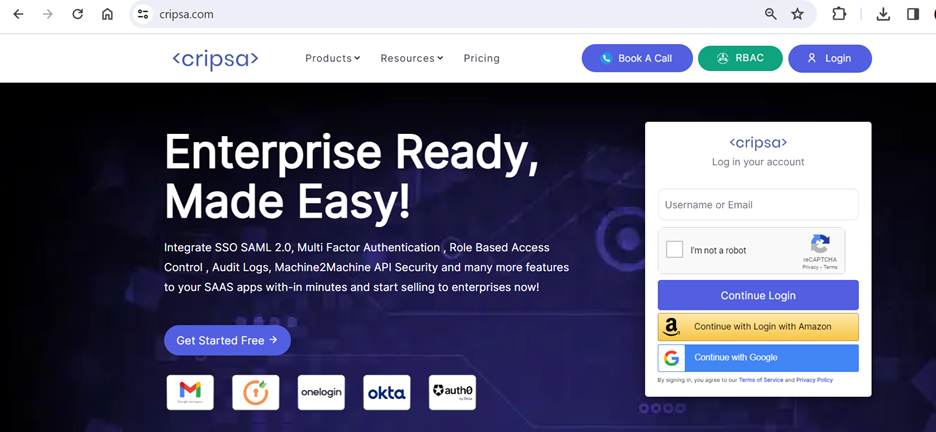
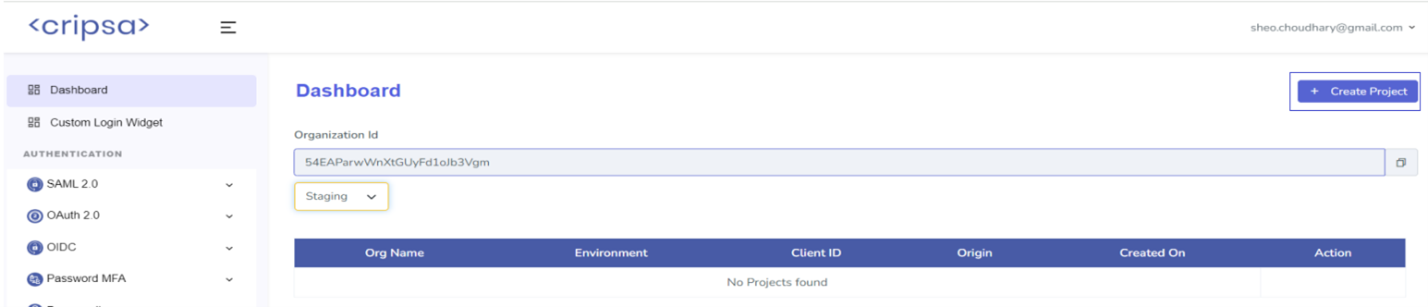
Choose any one option to login.
Once logged in Create project by clicking on “Create Project” on the right corner.
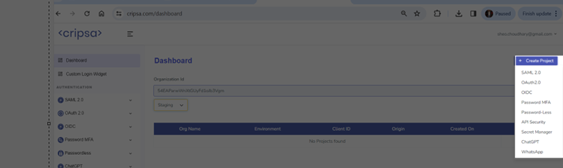
Now select any of the product which customer want to use and follow the screen for creation of a new project.
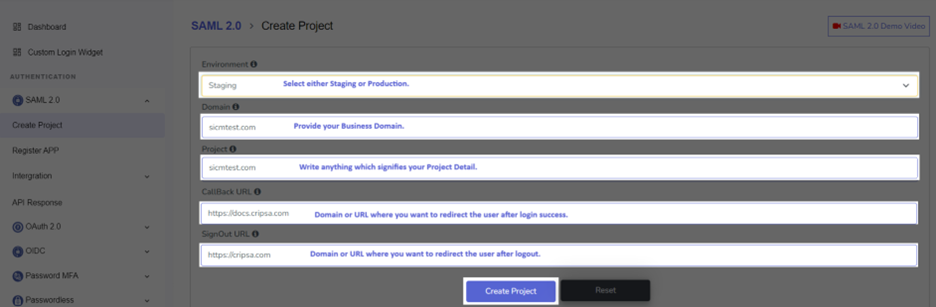
Fill all the detail as mentioned above and click on “Create Project”.
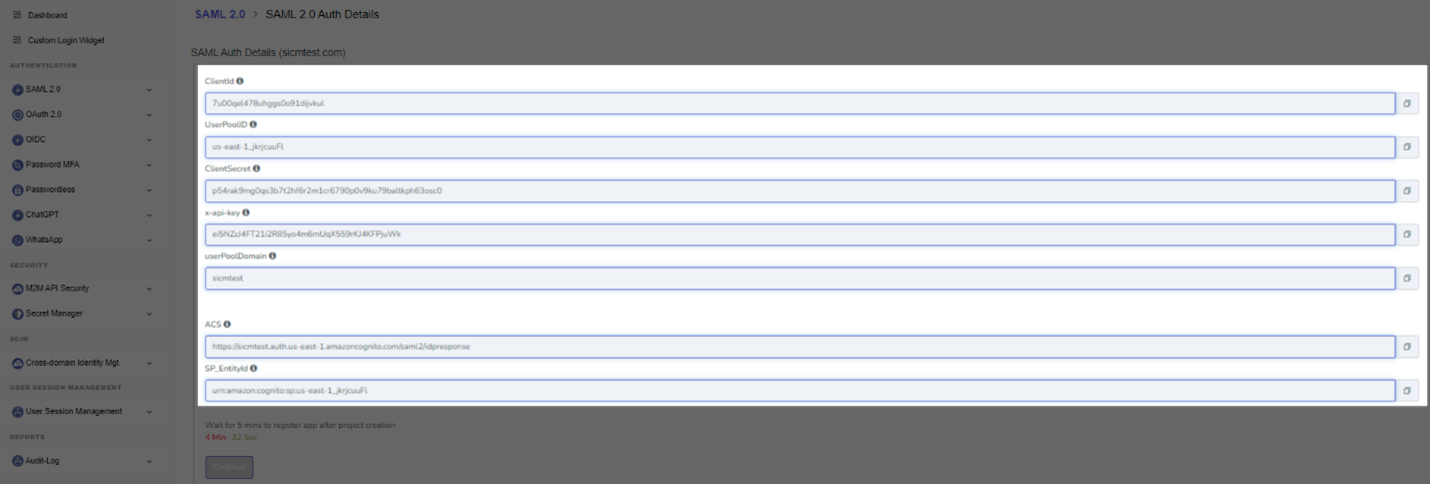
Note down all the information before proceeding further.
Wait for 5 Min and press on continue to proceed further.
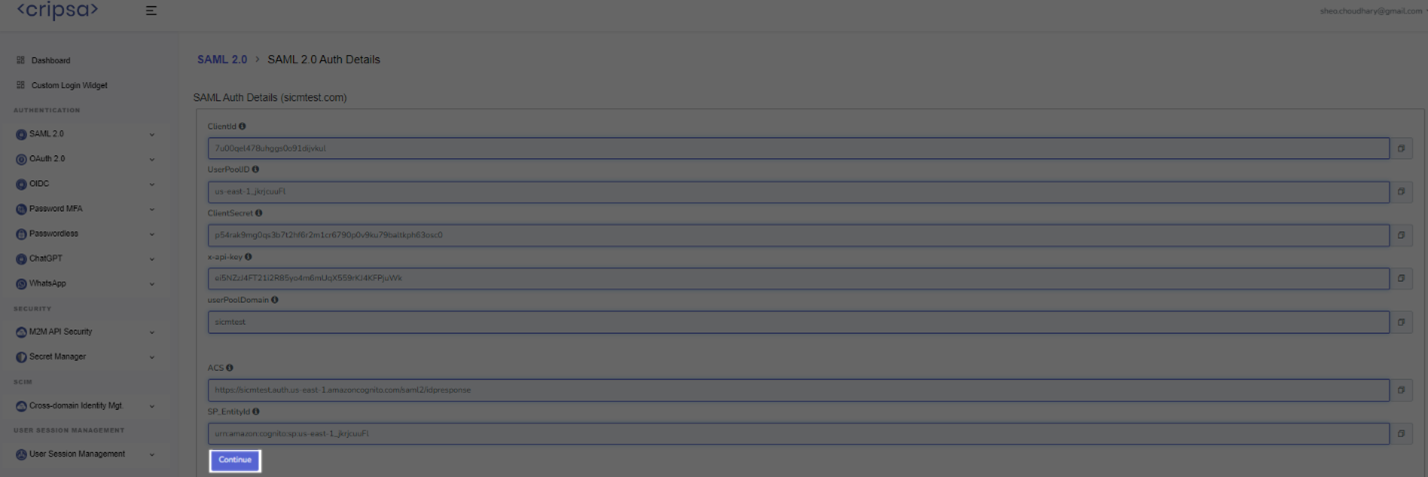
What Cripsa provides
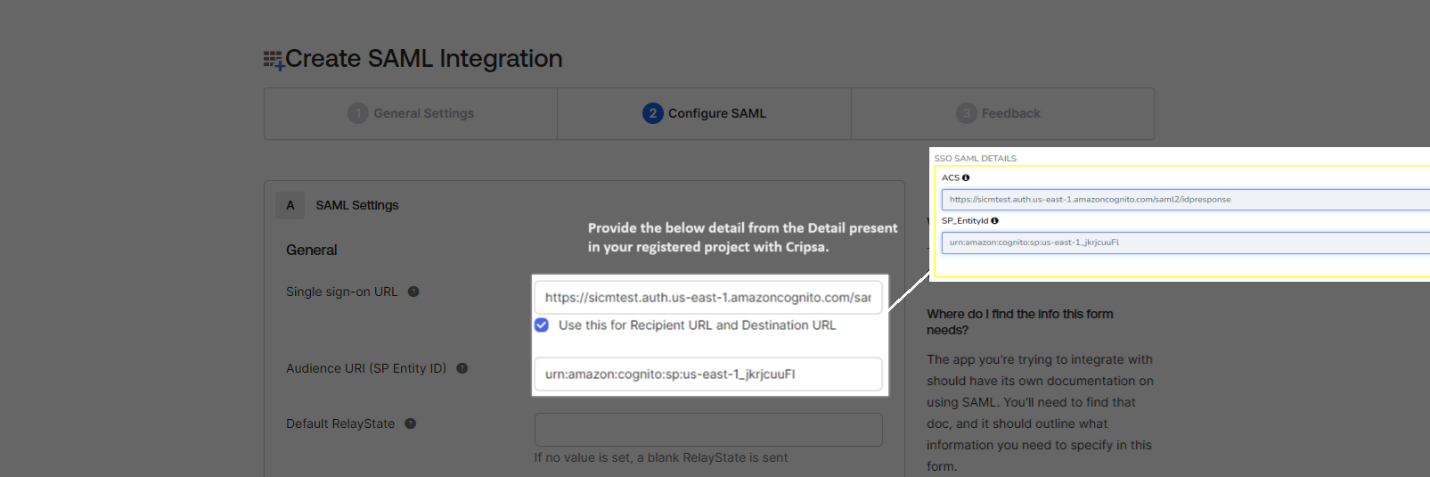
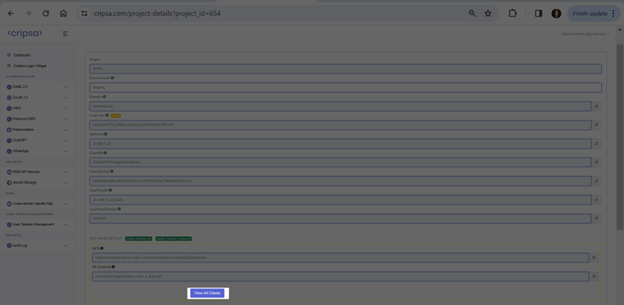
Cripsa provides the ACS URL and the SP Entity ID. It’s readily available in your Project Detail page of Cripsa Dashboard.
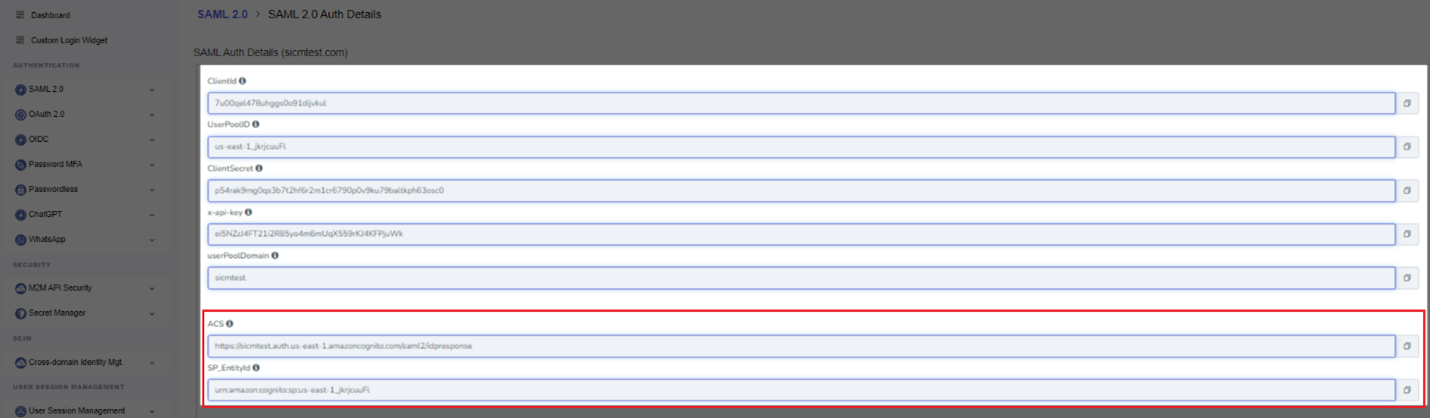
The ACS URL is the location an Identity Provider redirects its authentication response to. In OneLogin’s case, it needs to be set by the Enterprise when configuring your application in their OneLogin dashboard.
The SP Entity ID is a URI used to identify the issuer of a SAML request, response, or assertion. In this case, the entity ID is used to communicate that Cripsa will be the party performing SAML requests to the Enterprise’s OneLogin instance.
“ACS URL” in the “Service Provider Details” step of the OneLogin SAML setup.
What you’ll need
Registering an application for SAML in IDP using ACS (Assertion Consumer Service) URL and SP-EntityID from Cripsa involves a few steps. Below is a step-by-step guide to help you with the process:
Steps to Register App for SAML :
Note: Here we have chosen OKTA as IDP.
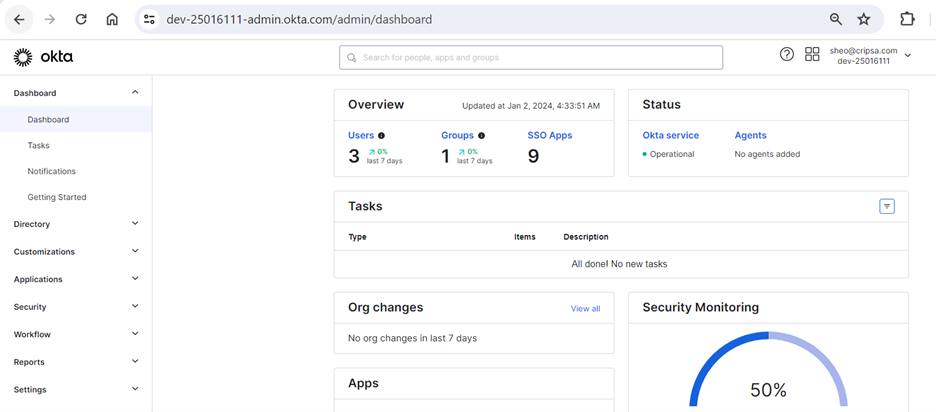
1. Login to Okta Admin Dashboard:
- Open your web browser and navigate to the Okta Admin Dashboard.
- Log in with your administrator credentials.
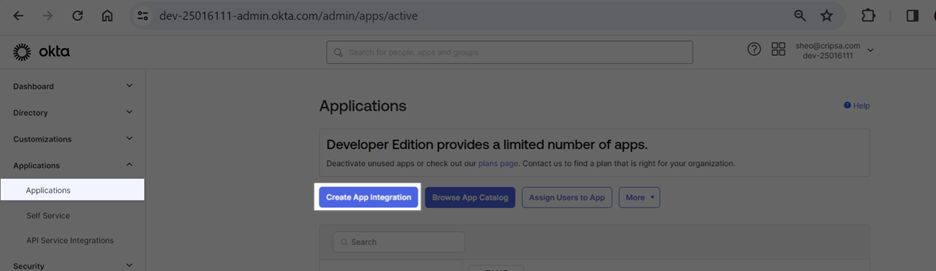
2. Navigate to Applications:
- On the Okta Admin Dashboard, click on the "Applications" tab located in the top navigation bar.
- Click on the "Add Application" button.
3. Select SAML 2.0 Application:
- select the "SAML 2.0" option from the Pop-Up Window.
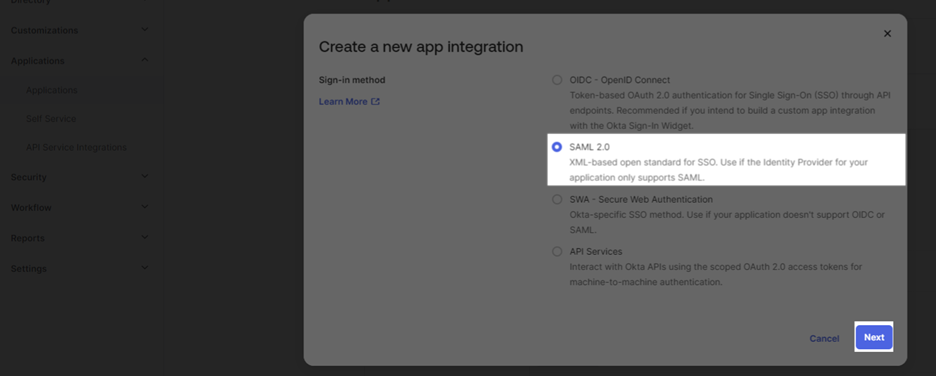
- Click the "Next" button.
4. Configure SAML Settings:
- General Settings:
- Enter an App name that identifies this SAML application within Okta.

- SAML Settings:
- Single sign on URL: Enter the ACS URL provided by Cognito.
- Audience URI (SP Entity ID): Enter the SP-EntityID provided by Cognito.
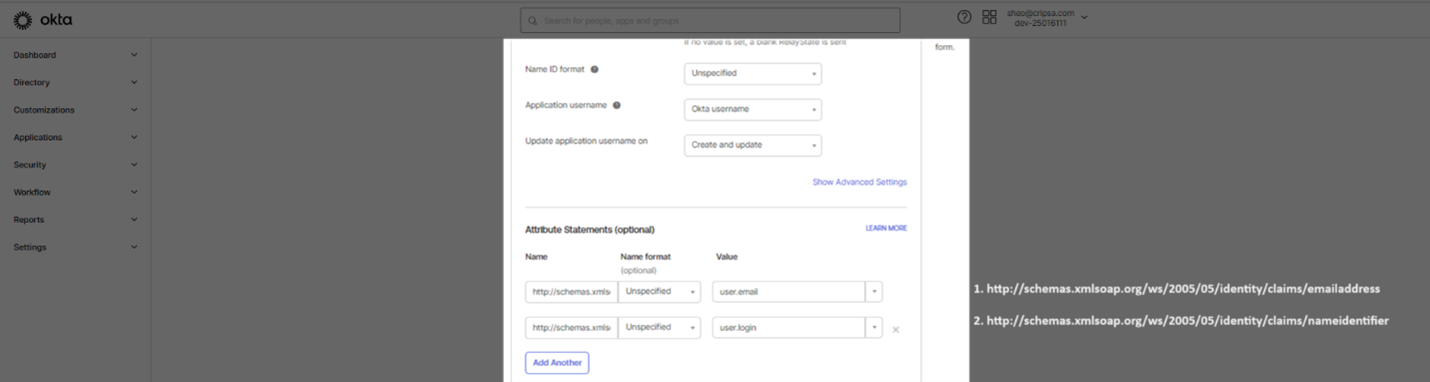
- Name ID format: Choose an appropriate Name ID format based on your requirements (usually 'EmailAddress' or 'Unspecified').
- Application username: Select the attribute that will be used as the username from the SAML assertion (usually 'Email' or 'user.email').
- Group Attribute Statement: If required, map groups from Cognito to Okta groups by adding the appropriate group attribute statements.
- Attribute Statements: Map any additional attributes as required by your application or policies.
- Feedback Options: Configure any additional settings based on your requirements.
5. Finish Configuration:
- Once you have entered all the necessary SAML settings, click the "Next" button.
- Complete any additional configurations such as assigning users or groups, setting up policies, and more as needed.
- Click the "Finish" button to complete the setup.

6. Download Okta Metadata (optional):
- After configuring the SAML settings, you can get the Okta metadata from the "Sign On" tab of your SAML application in Okta.
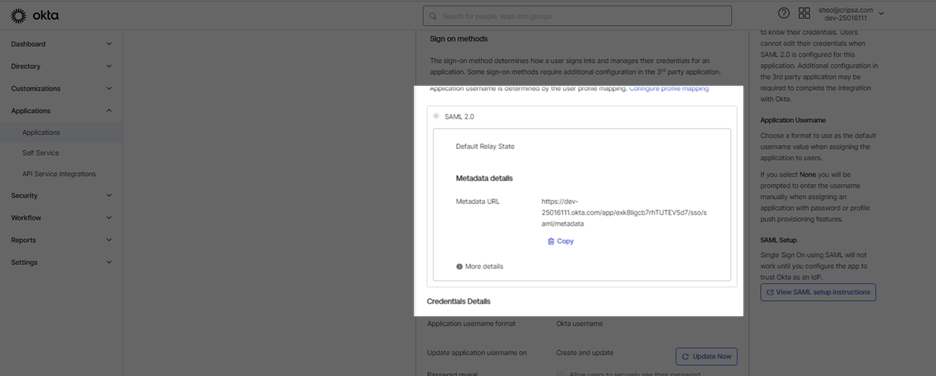
7. Upload Metadata File by Register OneLogin App with Cripsa
From Step 4 use the Issuer URI to register the app with Cripsa .
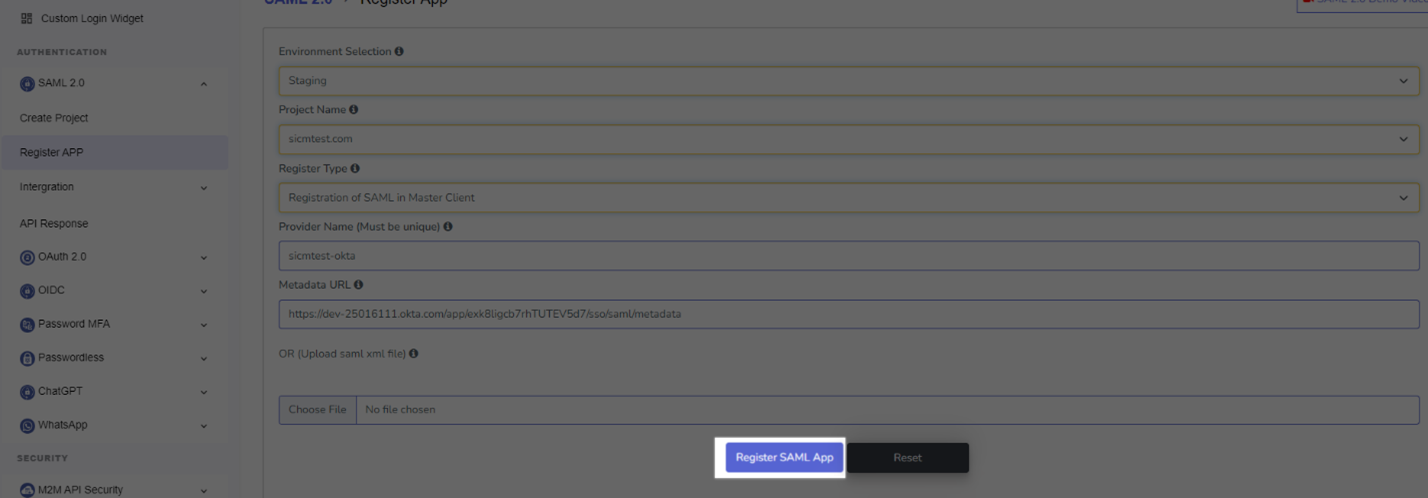
Now go back to https://cripsa.com/saml-register-app ->Select your project you have just created.
Here Three Fields are Mandatory to fill:
- Environment Selection

- Register Type

- Provider Name (name must be unique with no special character and all in small letter)

- Metadata URL or File Upload

After filling all the details click on “Register SAML App”.
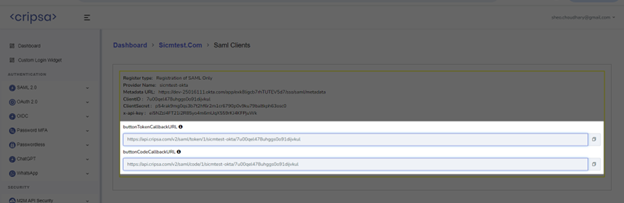
Now use the above URL to develop your Login Pad for your portal/application.
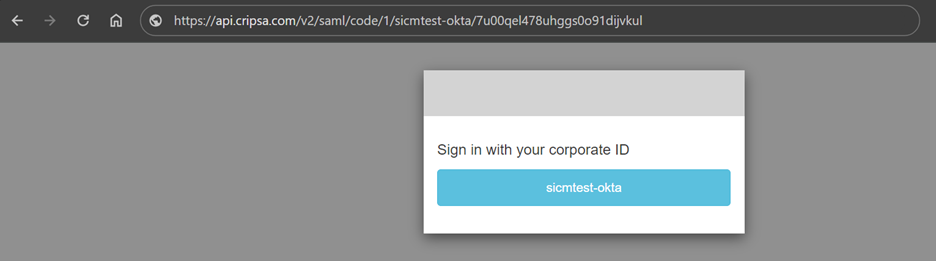
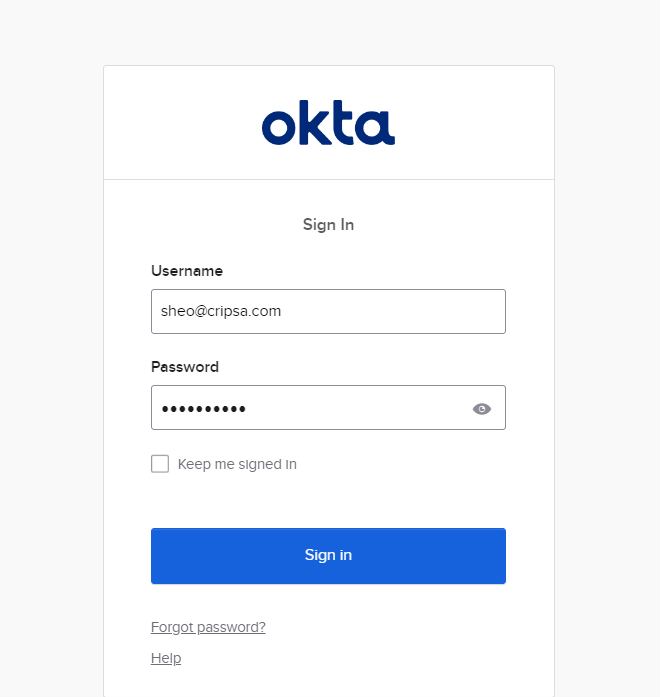
8. User Login Testing
Using code URI to get code after successful login to Okta.


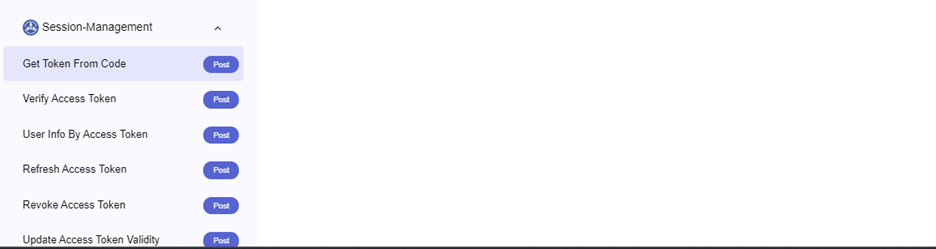
Now from Code get AccessToken using our API “Get Access Token” whose detail given at the following location:
https://cripsa.com/session-mgt-get-token-from-code
Once you get the AccessToken save this in your database to reuse it for multiple login.
Also see various other APIs through which you can manage Sessions of the user in Session management API sections.
System for Cross Management Identity Management (SCIM)
In Cripsa Once the project has been registered then one can import User details into there UserPool provided through Cripsa using SCIM. This involves two steps.
- Generate CSV template File
- Upload CSV and sync user
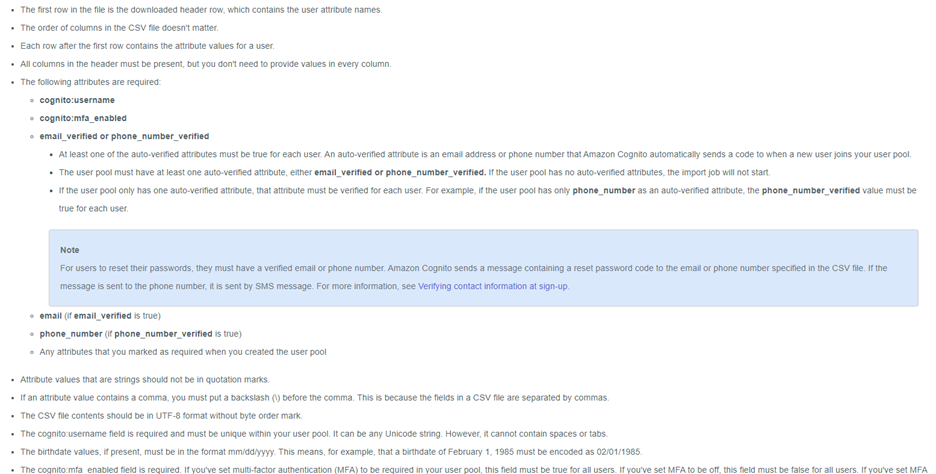
The detail on what all the value constraints has been given at following location:
https://cripsa.com/scim-upload-csv
Generate CSV Template File
Go to SCIM->Cross Domain Identity Management->Generate CSV Template File
Select the Environment and then select the project which has been created before proceeding with this section.
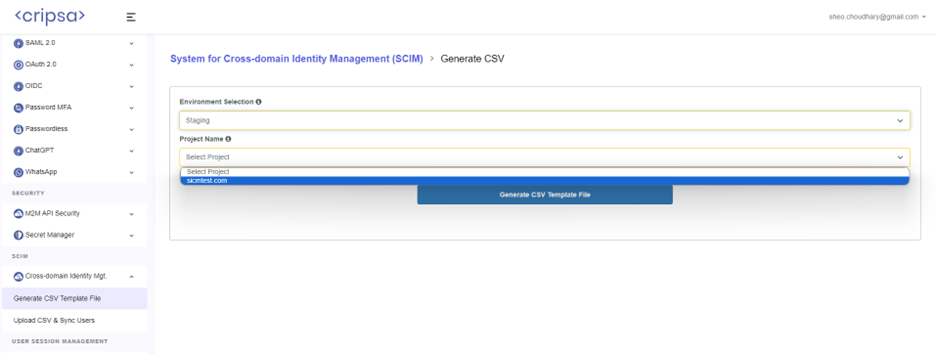
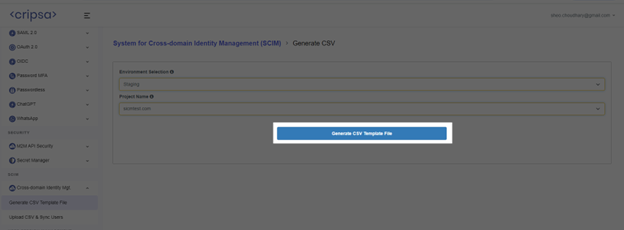
Now click on “Generate CSV Template file” button.
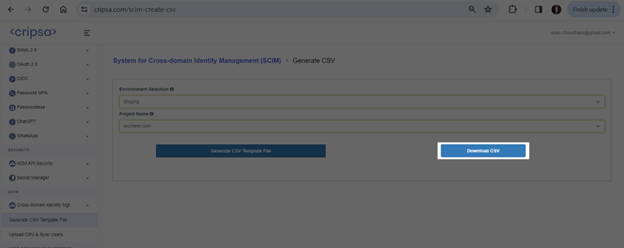
Now Download the file and fill all the detail of the users which you want to import into Cripsa provided UserPool.

For Sample CSV with Sample data click on “Download button” near Our Sample CSV as highlighted above.
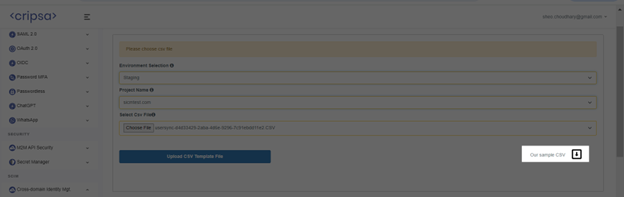
Upload CSV and Sync Users
Go to SCIM->Cross Domain Identity Management->Upload CSV and Sync Users
Now select Environment, Project and CSV file containing all the detail about the user and click on “Upload CSV Template File”.

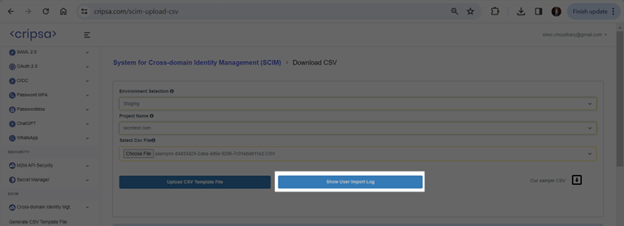
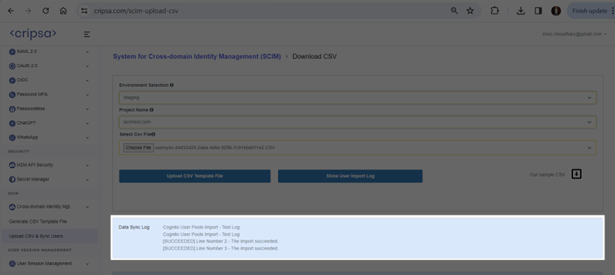
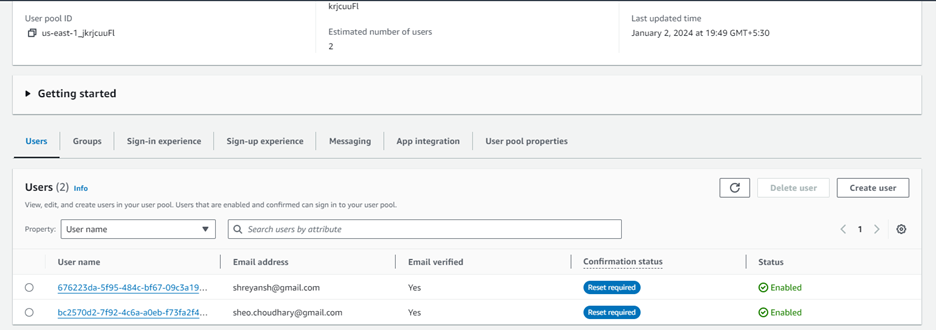
Once Import Successful the UserPool getting updated with the user information. The sample detail shown below which is not visible to Cripsa Client.
Frequently asked questions
How many Registration Options available in Cripsa for SAML and what is the difference between them?
In the Register Type there are four options:
- Registration SAML in Master Client
- Registration of SAML in Separate Client

Only the Login screen would be Different for each Registration Type.
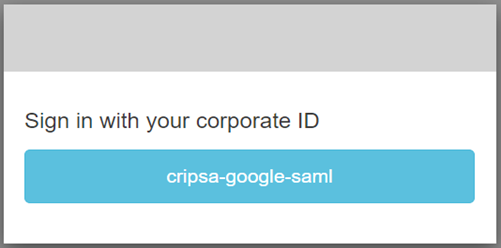
Figure 1 Registration of SAML in Master Client
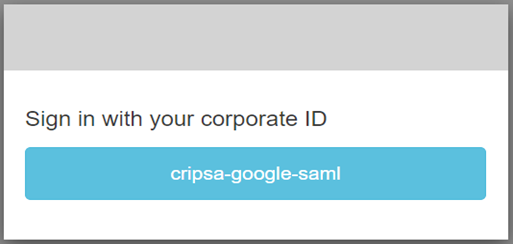
Figure 2 Registration of SAML in Separate Client
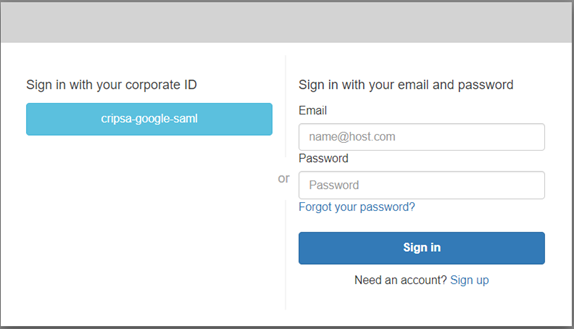
Figure 3 Registration of SAML in Master Client when Other Already registered Auth Type Apps/Method with MFA